


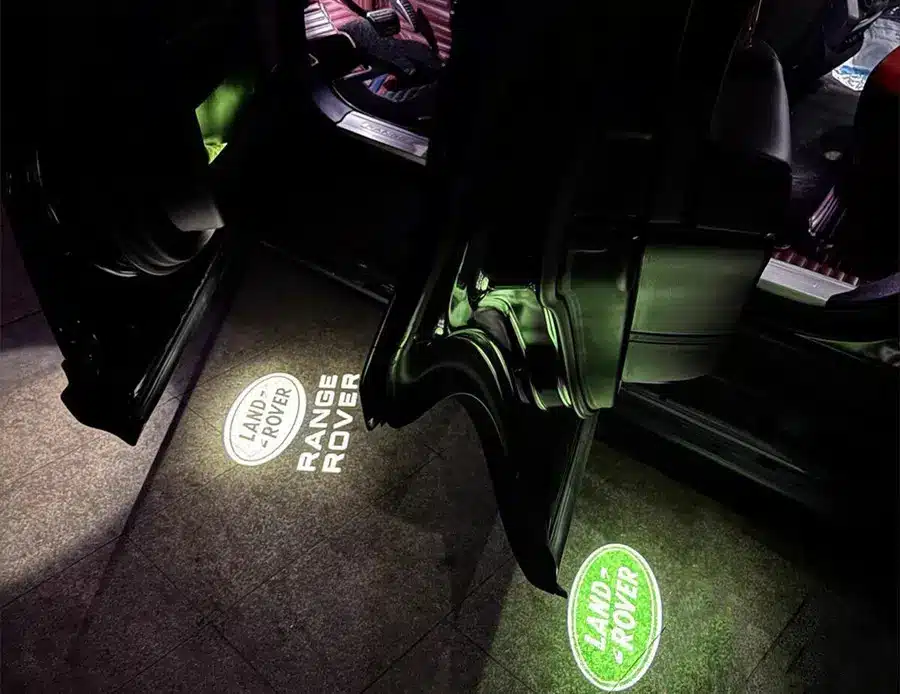
You can change the puddle lights for your Range Rover. This is one of the easiest upgrades you can make to your car. Whether you want to replace a failed factory light or upgrade to a new logo projection, you can install the new puddle lights easily. You need less than five minutes to finish the entire process. What’s more, you don’t need any special tools. Just prepare a flathead screwdriver or plastic trim tool. Here we will show step by step how to change Range Rover puddle lights.
This guide covers the full Range Rover range — L322, L405, L460, Range Rover Sport (L320, L494, L461), Range Rover Evoque, and Range Rover Velar. You can find specific notes and details for each generation.
What You Need Before You Start
- Your new puddle lights (plug-and-play replacement or upgrade set)
- A flathead screwdriver or plastic trim tool (to avoid damaging the door panel)
- A soft cloth (optional — to protect the door panel surface)
- Two to three minutes per door
How to Change Range Rover Puddle Lights Step by Step
Step 1 — Identify Your Range Rover Generation
Before you order puddle lights as replacements, you should confirm your Range Rover generation in advance:
Range Rover L322 (2002–2012) — This is the first generation with factory puddle lights since about 2006. Earlier L322 models may have a blank cover rather than a light unit.
Range Rover L405 (2012–2022) — Most people owned this generation in the UK. You can install new plug-and-play puddle lights on all L405 models with the optional puddle light pack (option code QQ1).
Range Rover L460 (2022–2025) — It is the latest generation. You can install plug-and-play lights on models with factory puddle lights. For fitment, you can contact your supplier to confirm the correct variant for the L460.
Range Rover Sport L320, L494, L461 — All generations are covered by the same process.
Range Rover Evoque L538 (2011–2018) and L551 (2019–2025) — Socket types may be different between generations.
Range Rover Velar L560 (2017–2025) — single generation, direct fitment.
Step 2 — Open the Door and Locate the Puddle Light
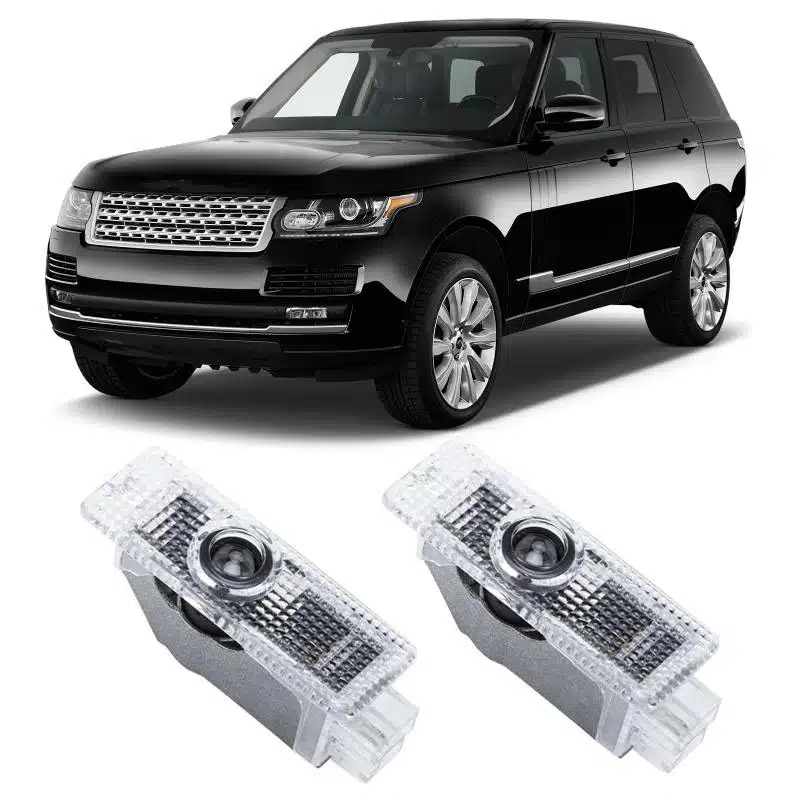
You need to fully open the door. The puddle light is located in the lower section of the door panel. You can find a small oval or circular unit near the bottom edge of the door. It usually points at the ground. On most Range Rover models, it is located at about 15–20cm from the base of the door.
On the Range Rover L405 and L460, the puddle light housing is round with a slight taper. However, on the Sport, Evoque, and Velar, it is usually oval-shaped. You can remove both original lights with the same method.
Step 3 — Remove the Existing Puddle Light
Firstly, you should put a flathead screwdriver or plastic trim tool into the small gap around the edge of the puddle light housing. Then you can use gentle pressure to lever the unit out of the door panel. It is held in place by a simple friction clip. You will feel a slight pop as it releases. It is important not to force it.
If you do not have a trim tool, you should wrap the end of a flathead screwdriver with masking tape. In this way, you can protect the door panel from scratches.
Once the unit is loose, you can pull it away from the door panel by about 2–3cm. Then you will see the wiring connector behind it.
Step 4 — Disconnect the Wiring Connector
You should pinch the plastic clip on the wiring connector and pull it from the back of the existing puddle light. The connector is a simple push-and-clip type. You will hear a click when it releases. Lastly, you can put the old lights away.
Step 5 — Connect and Fit Your New Puddle Light
Firstly, you can take out your new puddle light. Then you should align the wiring connector with the socket at the back of the new unit. Next, you can push the connector in firmly. You can not confirm it is connected perfectly until you hear a click.
Secondly, you can put the new puddle light into the door panel housing. Remember to push it firmly until the friction clip snaps into place. You should feel and hear the unit click home. Finally, you must check again to confirm it is secure.
Step 6 — Test Before Closing the Door
Before you finally close the door, you need to open and close it once to test if the puddle light works. On most Range Rover models, the puddle light is powered directly by the door switch. Therefore, the light will turn on when you open the door and turn off when you close the door.
If the light does not turn on, you should check if the connector is fully seated and the clip has engaged. Many puddle lights don’t work after installation. It’s mainly because the connector is loose.
Troubleshooting Common Issues
- Light does not turn on: check the wiring connector again
- Warning light on dashboard: most good replacement products have an anti-error chip. If a warning appears, you can remove and reinstall the light to try.
- Unit does not clip in flush: you should confirm whether you selected the correct size for your Range Rover generation
- Light turns on, but image is blurry: you need to take off the protective film from the lens. Many people may ignore this detail.
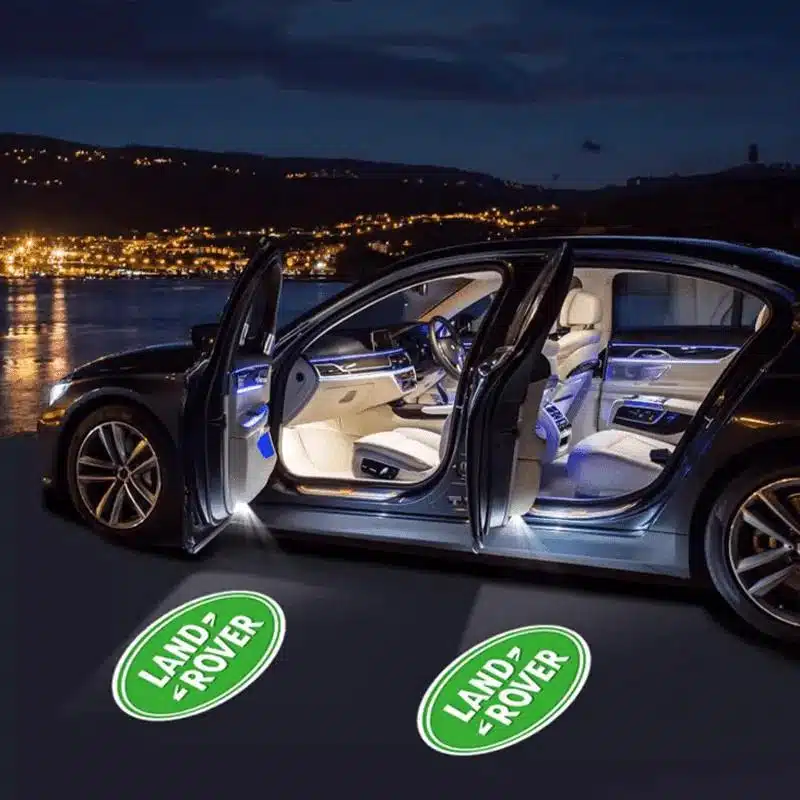
It is a really worthwhile upgrade to change Range Rover puddle lights. You need less time to install them than to read the installation steps. Many old lights can just reflect a plain white light. However, if you replace them with logo-projection puddle lights, you will see the Range Rover or Land Rover logo on the ground clearly. Don’t worry. You can finish the work all by yourself.